
MattaOS for OctoPrint

Connect your OctoPrint-connected printers to MattaOS, for remote control, AI-powered error detection, fleet management, and more!
The plugin allows users to control their printers using our intuitive web-interface, Matta OS. Matta OS brings Matta's data engine to OctoPrint, managing printer and webcam data, enabling next-level AI error detection and print job inspection. All that is required is a simple nozzle camera, and an OctoPrint-running 3D printer.
Matta is working towards building full AI-powered closed-loop control of 3D printing, enabling perfect quality, every time. By being an early user of our software, you help us build towards this goal!
- 🛜 Remote printer control via MattaOS, our intuitive web-interface.
- ⚡️ Advanced error detection using Matta's cutting-edge AI.
- 📈 Keep track of your printing operations with Printer Analytics.
- 👀 G-code viewer and analysis.
- ⚙️ Controllable failure behaviour (notify, pause, stop).

Monitoring a print with MattaOS
OctoPrint-MattaOS is a plugin for OctoPrint, the snappy web interface for your 3D printer. If you have not setup OctoPrint, get started here.
The Matta OS OctoPrint plugin uses the new camera stack for OctoPi. If you have not already got the new camera stack, you must flash your Pi and install the new OctoPi image.

Installing OctoPi with new camera stack using Raspberry Pi Imager
This plugin is not yet available from the OctoPrint Plugin Repository and as such must be installed manually - this however is very easy to do.
Below are a number of methods for installation:
From URL in the OctoPrint UI
Copy the following URL to the latest version of Matta OS's OctoPrint plugin:
https://github.com/Matta-Labs/octoprint-mattaos/archive/refs/heads/main.zipIn OctoPrint's plugin manager, select "+ Get More", and paste this URL into the "...From URL" section in the OctoPrint plugin manager inside the input with "Enter URL..".
Click "Install", and restart OctoPrint when prompted.
From an uploaded ZIP file in the OctoPrint UI
Download the ZIP package for this repositiory using the green 'Code' dropdown above or the following code.
wget https://github.com/Matta-Labs/octoprint-mattaos/archive/refs/heads/main.zipIn OctoPrint's plugin manager, select "+ Get More", and upload the downloaded .zip file in the provided box.
Click "Install", and restart OctoPrint when prompted.
✨ Thats it! Now the MattaOS plugin should be installed.
(Note: We have noticed an issue with installing on Mac if Safari is used to download the ZIP package. Please ensure Safari preferences are set such that downloaded files are not automatically opened upon download).
Clone onto Pi via SSH
At first, you need to access the Raspberry Pi connected to the 3D printer which is running OctoPrint. This best way to do this is via ssh, e.g.
ssh pi@octopi.localNote: the default password for Pi's is raspberry it should probably be changed if it is still the password.
Once on the Pi this git repo can be cloned and subsequently installed. To install the plugin in the correct location, the virtual environment used for OctoPrint must be activated. If you have installed OctoPrint via OctoPi (the Raspbian based SD card image for the Raspberry Pi that already includes OctoPrint plus everything you need to run it) then this is located at ~/oprint/bin/activate. If you did a custom install of OctoPrint you probably know where your virtual environment is.
git clone git@github.com:Matta-Labs/octoprint-mattaos.git
source ~/oprint/bin/activate
Now we have the correct environment we can easily install the packge using pip and subsequently reboot in order to load our plugin.
pip install -e octoprint-mattaos
sudo reboot
✨ Thats it! Now the MattaOS plugin should be installed.
OctoPrint sets the default image capture format to YUYV, however better streaming results can acheived with MJPEG. This can be changed in the /boot/usb-default.conf file on your Raspberry Pi as follows:
sudo nano /boot/camera-streamer/usb-default.confSet the format to MJPEG:
# The image format of the camera.
FORMAT=MJPEG
Save and close the file and reboot the Pi.
If you don't already have a nozzle camera installed, check our our camera-mounts repository to aid installation.
Also please feel free to contribute your own nozzle camera designs to the repo!
First sign-up for a free Matta account at https://os.matta.ai, then configure plugin settings to get started!
Create a new machine in MattaOS, copy the generated Authorisation token, then head to the MattaOS plugin settings in OctoPrint to configure the plugin.

Machine setup and plugin configuration workflow
In settings there are a few variables which need to be configured for use:
Authorisation token (from MattaOS)
- Create a printer in MattaOS.
- Copy the Authorisation token from the new printer's setup page.
- Paste this into the Authorisation token box in MattaOS settings.
- Click "Authorise" to connect the printer to MattaOS!
WebRTC Stream URL*
This is the streaming URL of your nozzle-cam streamer. The plugin only supports WebRTC streams, which require OctoPrint 1.8.0 and above, with the new camera stack.
This will be http://localhost/webcam/webrtc.
Camera Snapshot URL*
This is the snapshot URL of your nozzle-cam streamer. The plugin only supports WebRTC streams, which require OctoPrint 1.8.0 and above, with the new camera stack.
This will be http://localhost/webcam/?action=snapshot
- Paste in the streamer snapshot URL.
- Click snap to test the connection.
- On the retreived snapshot, click the nozzle tip to show Grey where to look!
*required for AI-powered error detection
The new OctoPi camera stack provides a useful control interface for the camera device. Once set up, you can find this at https://<the hostname (or IP) of your Raspberry Pi>/webcam/control. Use this to focus your camera on the printer nozzle so that Grey-1 can accurately find errors.

Camera-streamer control web interface
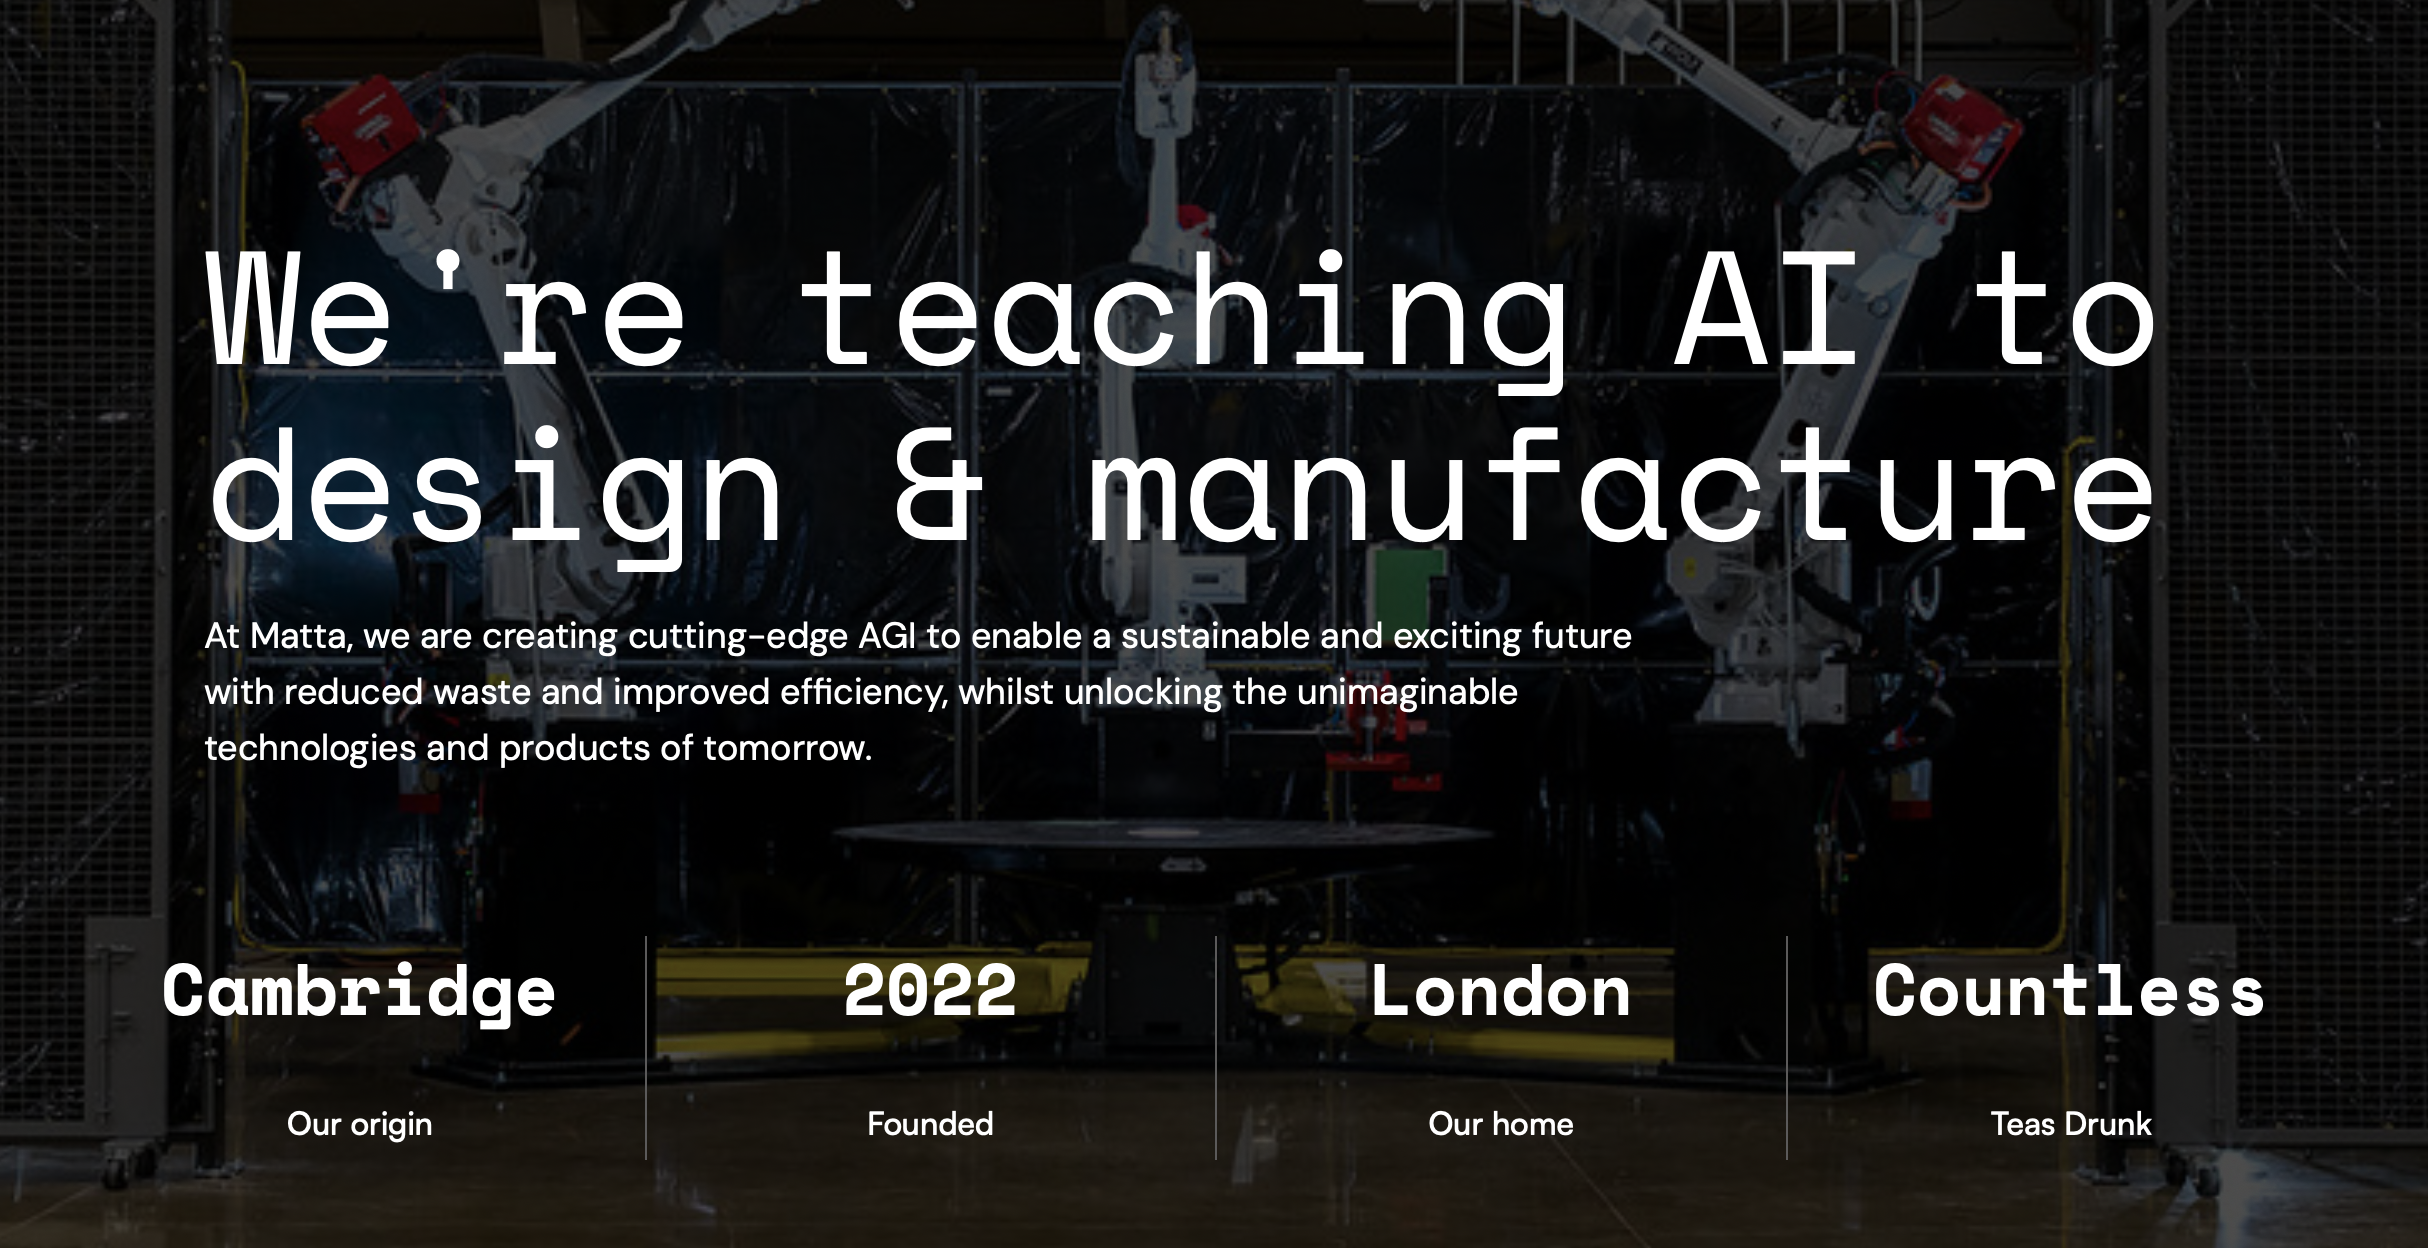
At Matta, we are building AI to push the boundaries of manufacturing. We train neural networks using vision to become manufacturing copilots, enabling next-generation error correction, material qualitification and part QC.
Check out the demo of our first-iteration AI, Grey-1
Team Matta - @mattalabs - hello@matta.ai
Project Link: https://github.com/Matta-Labs/octoprint-mattaos