This tool allows you to perform real-time live video transcription and translation using Python. It consists of three main steps: downloading the live stream, transcribing and translating the video, and playing the video with updated captions.
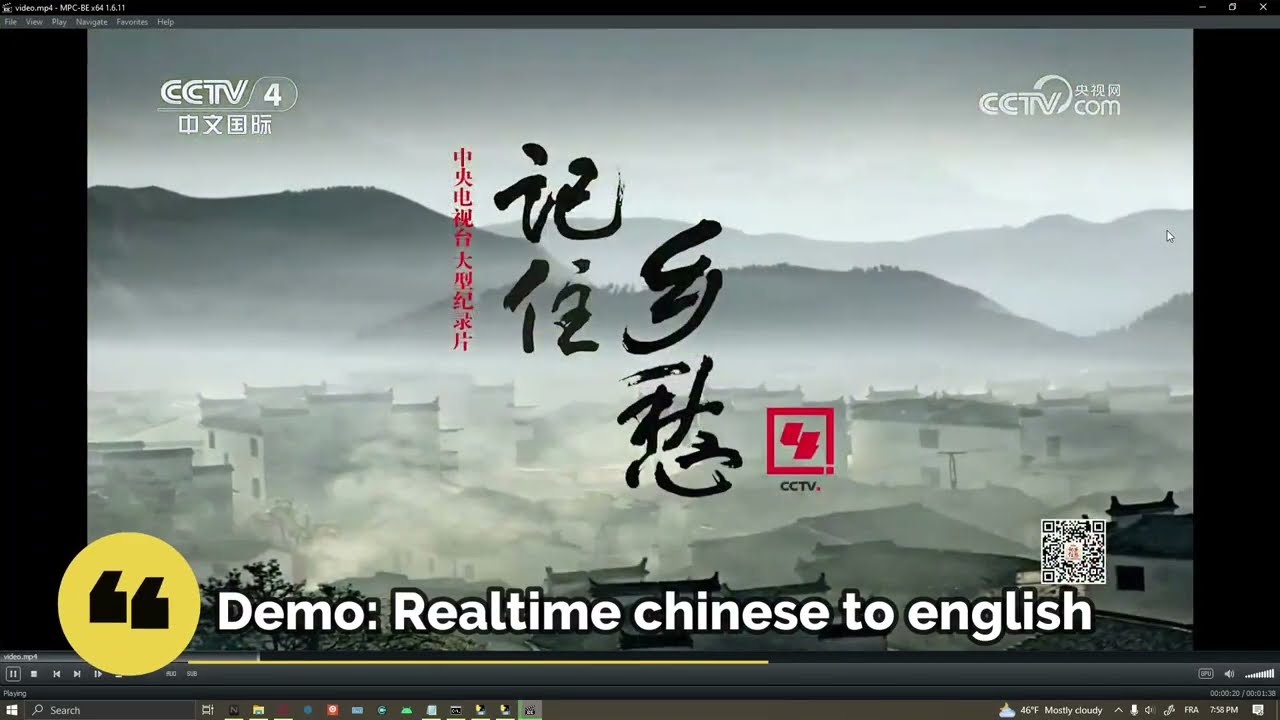
Check out this video demonstration to see how to set up and use the Live Video Transcription and Translation Tool.
-
Downloading the Live Stream:
- Utilizes
streamlinkto download the live stream and append it into a continuously growing video file (video.mp4).
- Utilizes
-
Transcribing and Translating the Video:
- Loads the video and transcribes each new 30-second segment, then translates it.
- Saves the transcription and translation into a
captions.srtfile.
-
Playing the Video with Updated Captions:
- Utilizes
mpc-be(Media Player Classic - Black Edition) to play the video. - A Python script detects the player window and presses
Ctrl + Shift + Alt + Rto reload the captions for up-to-date translation.
- Utilizes
To download the live stream, we use streamlink, a command-line utility for fetching streams from various websites. Follow these steps to set it up:
-
Install Streamlink:
- You can quickly install
streamlinkusing pip. Open a command prompt (cmd) or terminal and run the following command:pip install streamlink - Alternatively, you can download and install
streamlinkfrom the official website: Streamlink GitHub. Follow the installation instructions provided for your operating system.
- You can quickly install
-
Using Streamlink:
-
After installation, open a command prompt (cmd) or terminal.
-
Run
streamlink <URL>to download the live stream from a supported website. -
Replace
<URL>with the URL of the live stream you want to download. -
For example, to download the stream at the best quality and save it as
video.mp4, you can use the following command:streamlink <URL> best -o video.mp4
-
This command fetches the best available quality stream and continuously adds new parts of the stream to a single video file (
video.mp4). So, as the live stream progresses, the video file keeps growing with the newly downloaded content.. -
Note: Ensure that the
<URL>is replaced with the actual URL of the live stream you want to download, such ashttps://www.twitch.tv/example_stream.
-
You have two options for running the tool: using a Python environment or using provided windows executables.
-
Set Up Python Environment:
- Run the following commands in your terminal to set up a Python virtual environment:
python -m venv local
.\local\Scripts\pip.exe install torch==2.2.0 torchvision==0.17.0 torchaudio==2.2.0 --index-url https://download.pytorch.org/whl/cu118
.\local\Scripts\pip.exe install deep-translator==1.11.4 faster-whisper==0.10.0 ffmpeg-python==0.2.0 pysrt==1.1.2 pywinauto==0.6.8
- Run the following commands in your terminal to set up a Python virtual environment:
-
Run the Tool:
-
Use Python from the local environment to run this script to start transcription and translation:
.\local\Scripts\python.exe transcriber.py -
and this script to start the video player:
.\local\Scripts\python.exe player.py -
Note: Before running, ensure to configure
transcriber.iniandplayer.ini. Additionally, make sure to haveffmpeginstalled on your system and available from the PATH environment variable to be called directly, or alternatively, place the executables in the same directory as the scripts.
-
-
Download Executables:
- Download the appropriate executable for your system (CPU-only or GPU-supported) from the repository.
-
Run the Executable:
- Simply execute the downloaded executable to run the tool.
- The executables include the necessary dependencies and scripts for running the transcription and translation process.
To play the video with updated captions, we use MPC-BE (Media Player Classic - Black Edition). Follow these steps to set it up:
-
Install MPC-BE:
- Download and install MPC-BE from the official website: MPC-BE.
-
Set the Reload Captions Shortcut:
- Open MPC-BE.
- Go to Options > Player > Keys.
- Search for "reload" and assign a shortcut key combination (e.g.,
Ctrl + Shift + Alt + R) for "Reload Subtitles".
The configuration for this tool is managed through two INI files:
The player configuration file is used to set up the Media Player Classic - Black Edition (MPC-BE) player for displaying the video with updated captions. Here are the parameters that can be configured in player.ini:
- PLAYER_EXECUTABLE_NAME: Specifies the path to the MPC-BE player executable.
- INPUT_VIDEO: Specifies the input video file to be played.
- CAPTION_FILE: Specifies the caption file associated with the video.
Example player.ini:
[Player]
PLAYER_EXECUTABLE_NAME = C:\Program Files\MPC-BE x64\mpc-be64.exe

[Video]
INPUT_VIDEO = video.mp4
CAPTION_FILE = captions.srtThe transcriber configuration file is used to configure parameters related to video transcription and translation. Here are the parameters that can be configured in transcriber.ini:
- T_DELAY: Specifies the delay in seconds for each transcription segment. It acts as a buffer, meaning that a part won't be translated until the accumulated time exceeds this delay. Default: 30 seconds.
- WAIT_TIME: Specifies the time in seconds to check if the last non-translated part exceeds the delay or not yet. Default: 1 second.
- TRANSLATE: Specifies whether translation is enabled (True/False).
- BATCH_SIZE: Specifies the number of sentences or captions translated at a time. Default: 16.
- SOURCE_LANG: Specifies the source language for translation.
- TARGET_LANG: Specifies the target language for translation.
- NUM_WORKERS: Specifies the number of parallel translation processes. This parameter influences the speed of translation. Default: 4.
- INPUT_VIDEO: Specifies the input video file.
- CAPTION_FILE: Specifies where to save the captions srt file.
- MODEL: Specifies the model used for transcription. Available models include various versions: tiny / tiny.en, small / small.en, medium / medium.en, large-v3. Note that the
.ensuffix indicates English-only models. Recommended: medium and large-v3. The models will be downloaded and saved in the user's.cachedirectory for Hugging Face models the first time they are called. - DEVICE: Specifies the device for computation, either CUDA (NVIDIA GPU) or CPU.
- COMPUTE_TYPE: Specifies the compute type for computation, which can be float32, float16, or int8. Note that CPU computation works only with int8.
Example using a large-v3 model with different compute types (I did not notice a significant difference in speed):
- With float32: Requires approximately 7GB VRAM.
- With float16: Requires approximately 3.7GB VRAM.
- With int8: Requires approximately 2.1GB VRAM.
Example transcriber.ini:
[Constants]
T_DELAY = 30
WAIT_TIME = 1

[Translation]
TRANSLATE = False
BATCH_SIZE = 16
SOURCE_LANG = auto
TARGET_LANG = eng
NUM_WORKERS = 4

[Video]
INPUT_VIDEO = video.mp4
CAPTION_FILE = captions.srt

[Model]
MODEL = large-v3
DEVICE = cuda
COMPUTE_TYPE = float16
These configuration files allow for customization and adjustment of settings to suit specific requirements when using the tool.